What Is a User Flow?
Learn what a user flow shows, which paths and states it should include, how teams use it, and how to make one that can be tested.

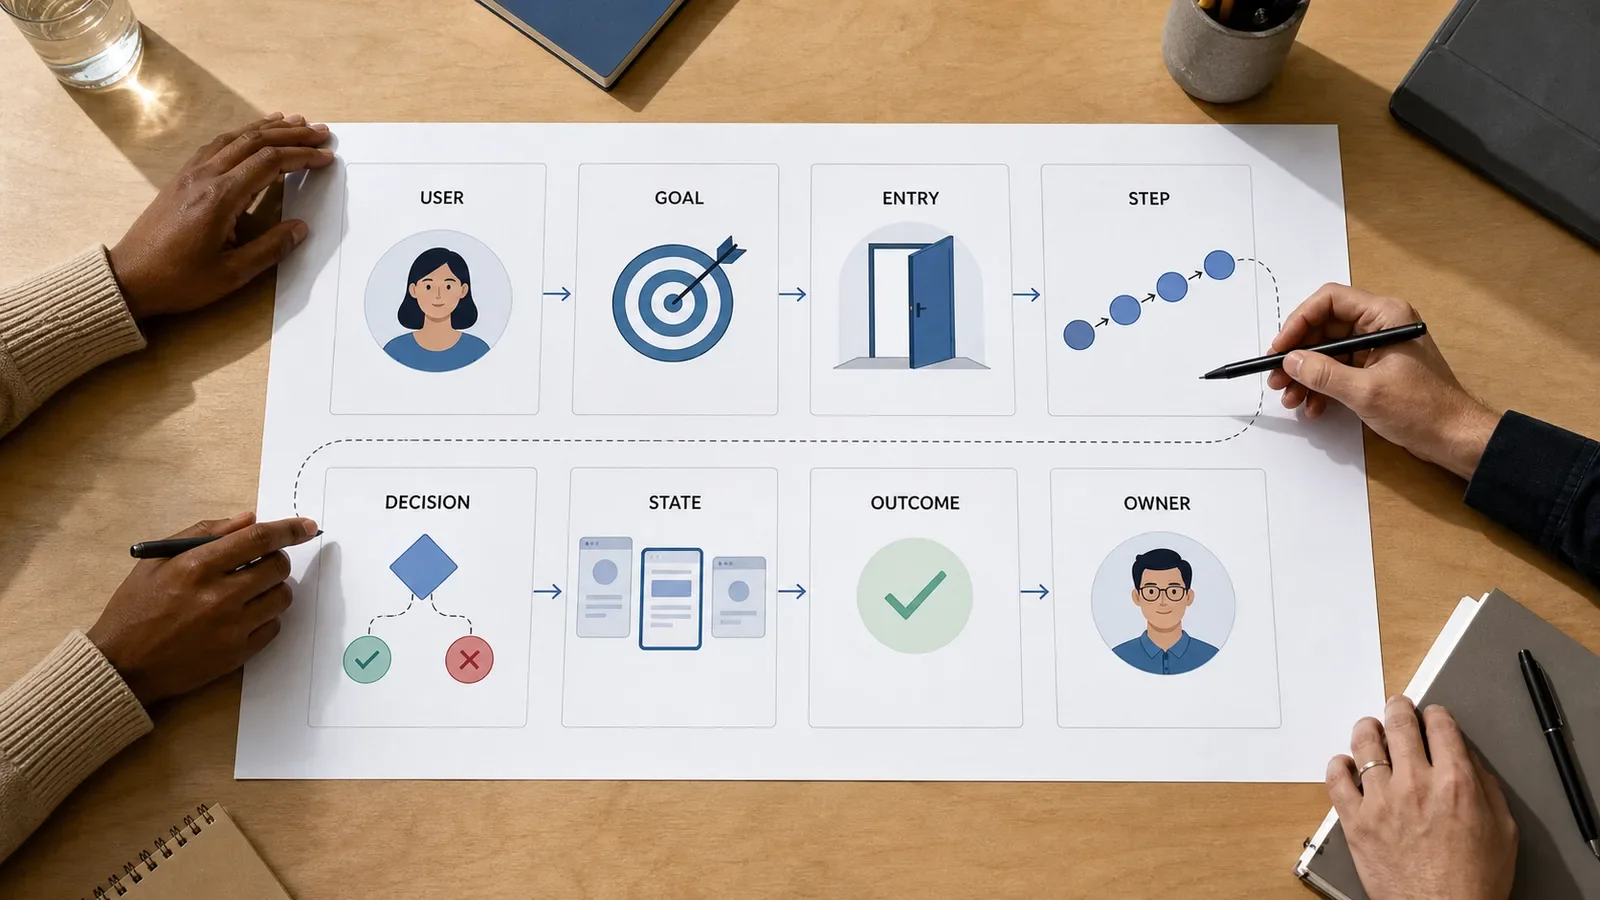
A user flow shows the steps a person can take to finish one task in a product or service. It marks where the task starts, what the person and the system do, which choices change the path, and how the task ends. A useful flow also shows errors, exits, ways back and support.
What a user flow should show
Start with one type of user and one clear goal. “Use the website” is too broad. “Change the ship-to address before an order leaves” gives the team a task it can map and test.
The flow should begin where that task begins in real life. A person may come from search, an email, a saved link, a notice, help or another page. If the team starts every map on the home page, it may miss routes the product still has to support.
Each step should name an act or a reply. The person adds details, makes a choice or asks for help. The system checks a rule, saves data, shows a state or explains why the task must stop. A choice makes a branch, while a named result makes the end clear.
The map also needs the paths that teams often miss:
wrong or missing details;
slow loads, lost links and web faults;
access, role or rule limits;
help from staff or another service;
safe exits and ways to return; and
calls, forms, fees or file checks that happen off the site.
A blank screen during a slow request can look like a crash. A form that sends a person back to the first field after one mistake can turn a quick fix into a long task. These states belong in the flow because they can decide if the person gets through it.
How teams use a user flow
Map the route that exists now before you draw a new one. The first map can show broken links between teams, steps that repeat and work with no clear owner. It can do this before anyone spends time on the screens.
The GOV.UK Service Manual asks teams to look past the screen to the wider trip. That may include work done by staff, steps that take place off the site and proof the user must provide.
The new flow can guide page plans, text, build notes and user tests. Link each page or screen to a step, but do not treat the map as proof of how people act. Tests may find a new start point, a work-around or a help step that the team did not know about.
Keep the chart easy to read. Use the same shapes and short labels from start to end. A large service may need one broad map and a set of small flows for each task. One chart that tries to hold every goal soon stops helping the team.
A user-flow example
Think of a person who wants to change an appointment. The flow may start from a link in a text message or from an account page. The service checks the person's ID and the rules for a change, shows open times, saves the choice and sends a note the person can read later.
That straight path is only the first draft. The full flow must also cover an old link, no open times, a choice to cancel, a slow request and a handoff to staff. Tests of those paths may teach the team more than one more run through the best case.
How to make a user flow
Define the task. Name the user, the need and the end state in one line. If the line holds two separate goals, make two flows. This matches Figma's user-flow guidance, which begins with the user and their goal.
Check the start points. Use user study notes, help logs and site data when you have them. Do not assume that the route starts where the team wants it to start.
Map the route as it works now. Add each act, system reply, choice, data need, channel and handoff. This gives the new plan a real base.
Add faults and ways back. Show what happens when data is wrong, a rule blocks the task, the web fails or the person needs help. Do not make someone start again when one step can be fixed.
Name the owner. Mark who keeps each handoff up to date and who steps in when the task leaves the screen. A flow can fail even when each page looks done.
Test and revise the map. Give it to someone who did not make it. Ask that person to trace one real case with no hints, then change the map and build notes to match what the test found.
User flow and other maps
A task flow often shows one straight set of steps for one task. A user flow can add more than one start point, choice and end. A customer journey covers a wider link with the customer over time and may include needs and feelings. A service blueprint adds the people, work and tools that sit behind the part the user sees.
The maps can work together, but they do not answer the same question. Pick the smallest map that helps the team make the next choice.
Common mistakes
Drawing the best path with no proof from real use.
Showing pages but not what the system or service does.
Leaving out faults, exits, help and ways back.
Mixing several tasks in one chart.
Naming the end “success” instead of a state the team can check.
Keeping the first flow after user tests show that it is wrong.
A quick review before design starts
Check that the flow names one user, one task, each real start point and a clear end. It should cover choices, faults, exits, ways back, access needs, private data, help and owners. Trace one likely case through the whole map, and note the proof or guess behind each major branch.
For the full study and design process, read UX Design Services. If the flow is for a new product, Building an MVP That Scales shows how to carry tested choices into the build.
Need a user-flow review based on how the task works now?
Book a free Brand and Tech Assessment to map the route, its limits and the next useful change.